A friend and I were recently lamenting time, and how much time even the simplest things can take. Certain tasks these days … so much quicker. Sending a message to a friend, obviously. Buying some Clorox Anywhere online and getting it shipped to me in two days (which reminds me, I need to do that, cause Clorox Anywhere is the best (thanks Alexis!), and I can’t find it locally). Taking photos and sharing them with friends.
But because some things are faster, I think we forget that many, many things are not faster at all. And because it’s easy to take that photo and share the outcome, the effort that went into the project gets forgotten, or glossed over.
Here’s my example. I just hung this new wall lamp in the bedroom. Lovely, isn’t it?


Somehow, though, just sharing this photo of the final product feels like cheating. I’m certainly not seeking any sympathy for the effort that went into these lamps! But I feel obligated to tell the entire story.
I found these sconces at a garage sale, at least ten years ago. They were wired with ancient cords; I pulled these out and turned them into candleholders, which I probably only lit about twice, since the whole contraption was rather precarious and involved fire burning on my wall (of my delighfully tiny Bucktown coach house, for those who remember it, may it rest in peace).
They sat in a box in our storage unit for the intervening nine years. After acquiring the tiny house, I thought they’d make nice lights for the cabin bedroom.
So I brought them over to Cas Hardware in Andersonville, a mom and pop owned by a pair of Romanians who are getting up in years. The gentleman assured me he could rewire them, though it would be a tricky job. I left them for a few weeks, and returned to pick up the finished product.
While he did a great job with the rewiring, he installed lamp sockets. (Unfortunately I didn’t take a photo of them at this stage.) Not to be overly picky, but considering the design of the lamp they definitely need the thin candelabra-style sockets (that you now see). But I though, well, no big deal, I can swap those out myself. So I paid for the work and left. Here’s a photo from behind, showing the rewiring. He did a nice job in the back, and installed an on/off push button switch on the front.

Fast forward a few months, and by now I’m living in Ypsilanti, ready to take on the job of swapping out the sockets. I go online to place an order, only to discover … there are a gazillion kinds of sockets. Different widths. Different heights. Adjustable sockets. Sigh. And so hard to order such a thing online. So I decide I need to get something locally, which requires a search for a store that carries such things in stock and will also sell to the general public. After a bit of searching I discover Gross Electric in Ann Arbor. They have what I need, but … they only have three sockets in stock. I need four (there’s actually a pair of these lamps). I take the three.
Figuring out how to get the old sockets out was no simple task. After twisting the sockets this way and that, I finally discovere how to dismantle them (a feat of strength was required), and in the process, slightly damage the new cloth-covered electrical cords inside the lamps. Sigh. I cover them with electrical tape and hope I don’t start a fire. Here’s a photo of the new sockets finally in place. (Oh, and of course I had to make a second trip to Gross to get the fourth socket.)
Now I need candelabra covers to cover the new sockets. Again, very hard to order online due to there being a million size and color options. So I go local again, now to Materials Unlimited in Ypsilanti. This task was again two trips, once to place the order and a second time to pick up the covers when they arrived (after about a month!).

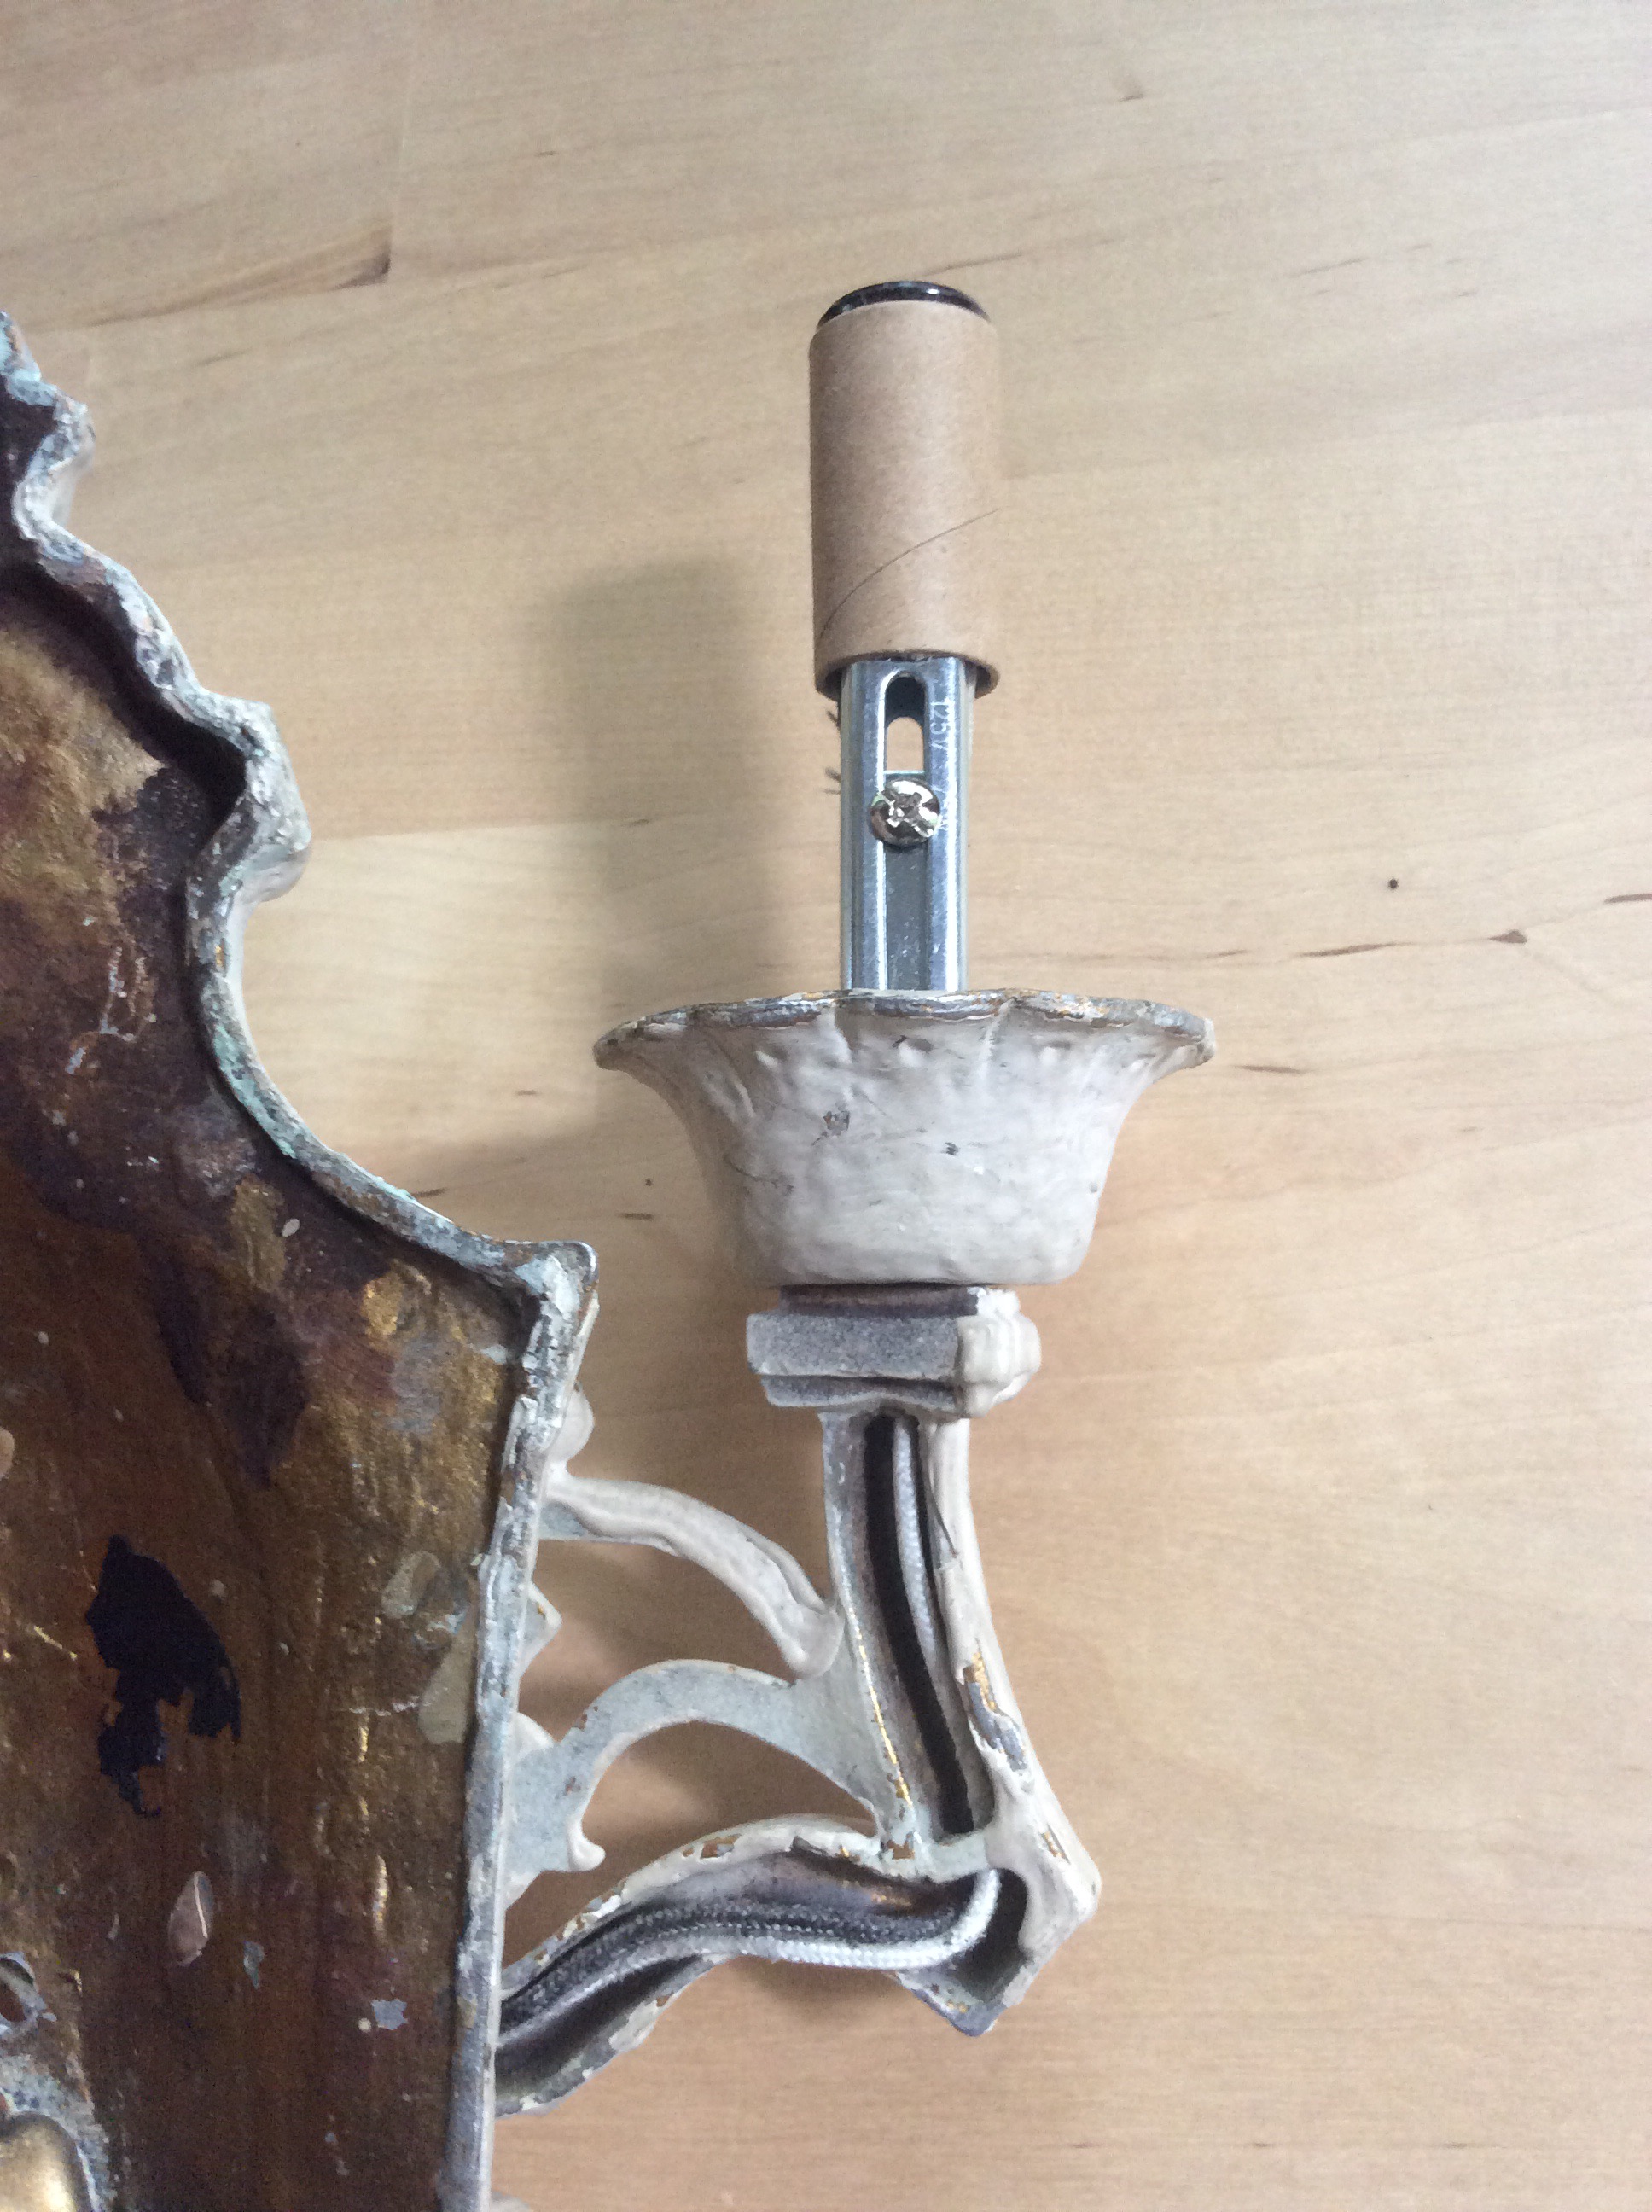
Of course, another trip was needed to get the actual light bulbs. And then another challenging task … figuring out how to attach them to the wall. The sconces have just one hole in them for installation, extremely inconveniently located. I’ve tried to capture the location in this photo. You can see the hole above the switch.

I asked the folks at Materials Unlimited; they gave me a few spare parts, but/ they didn’t seem to do the trick. There are basically two options here: a) screw something in from the front (which it is difficult to get the force needed to drive in a screw since the hole is blocked by the diamond-shaped piece above), or b) screw a bracket to the wall first, with something (of the perfect length) protruding out into the hole, and then screwing a cap on from the front. All while hoping that the solution doesn’t look terribly unsightly.
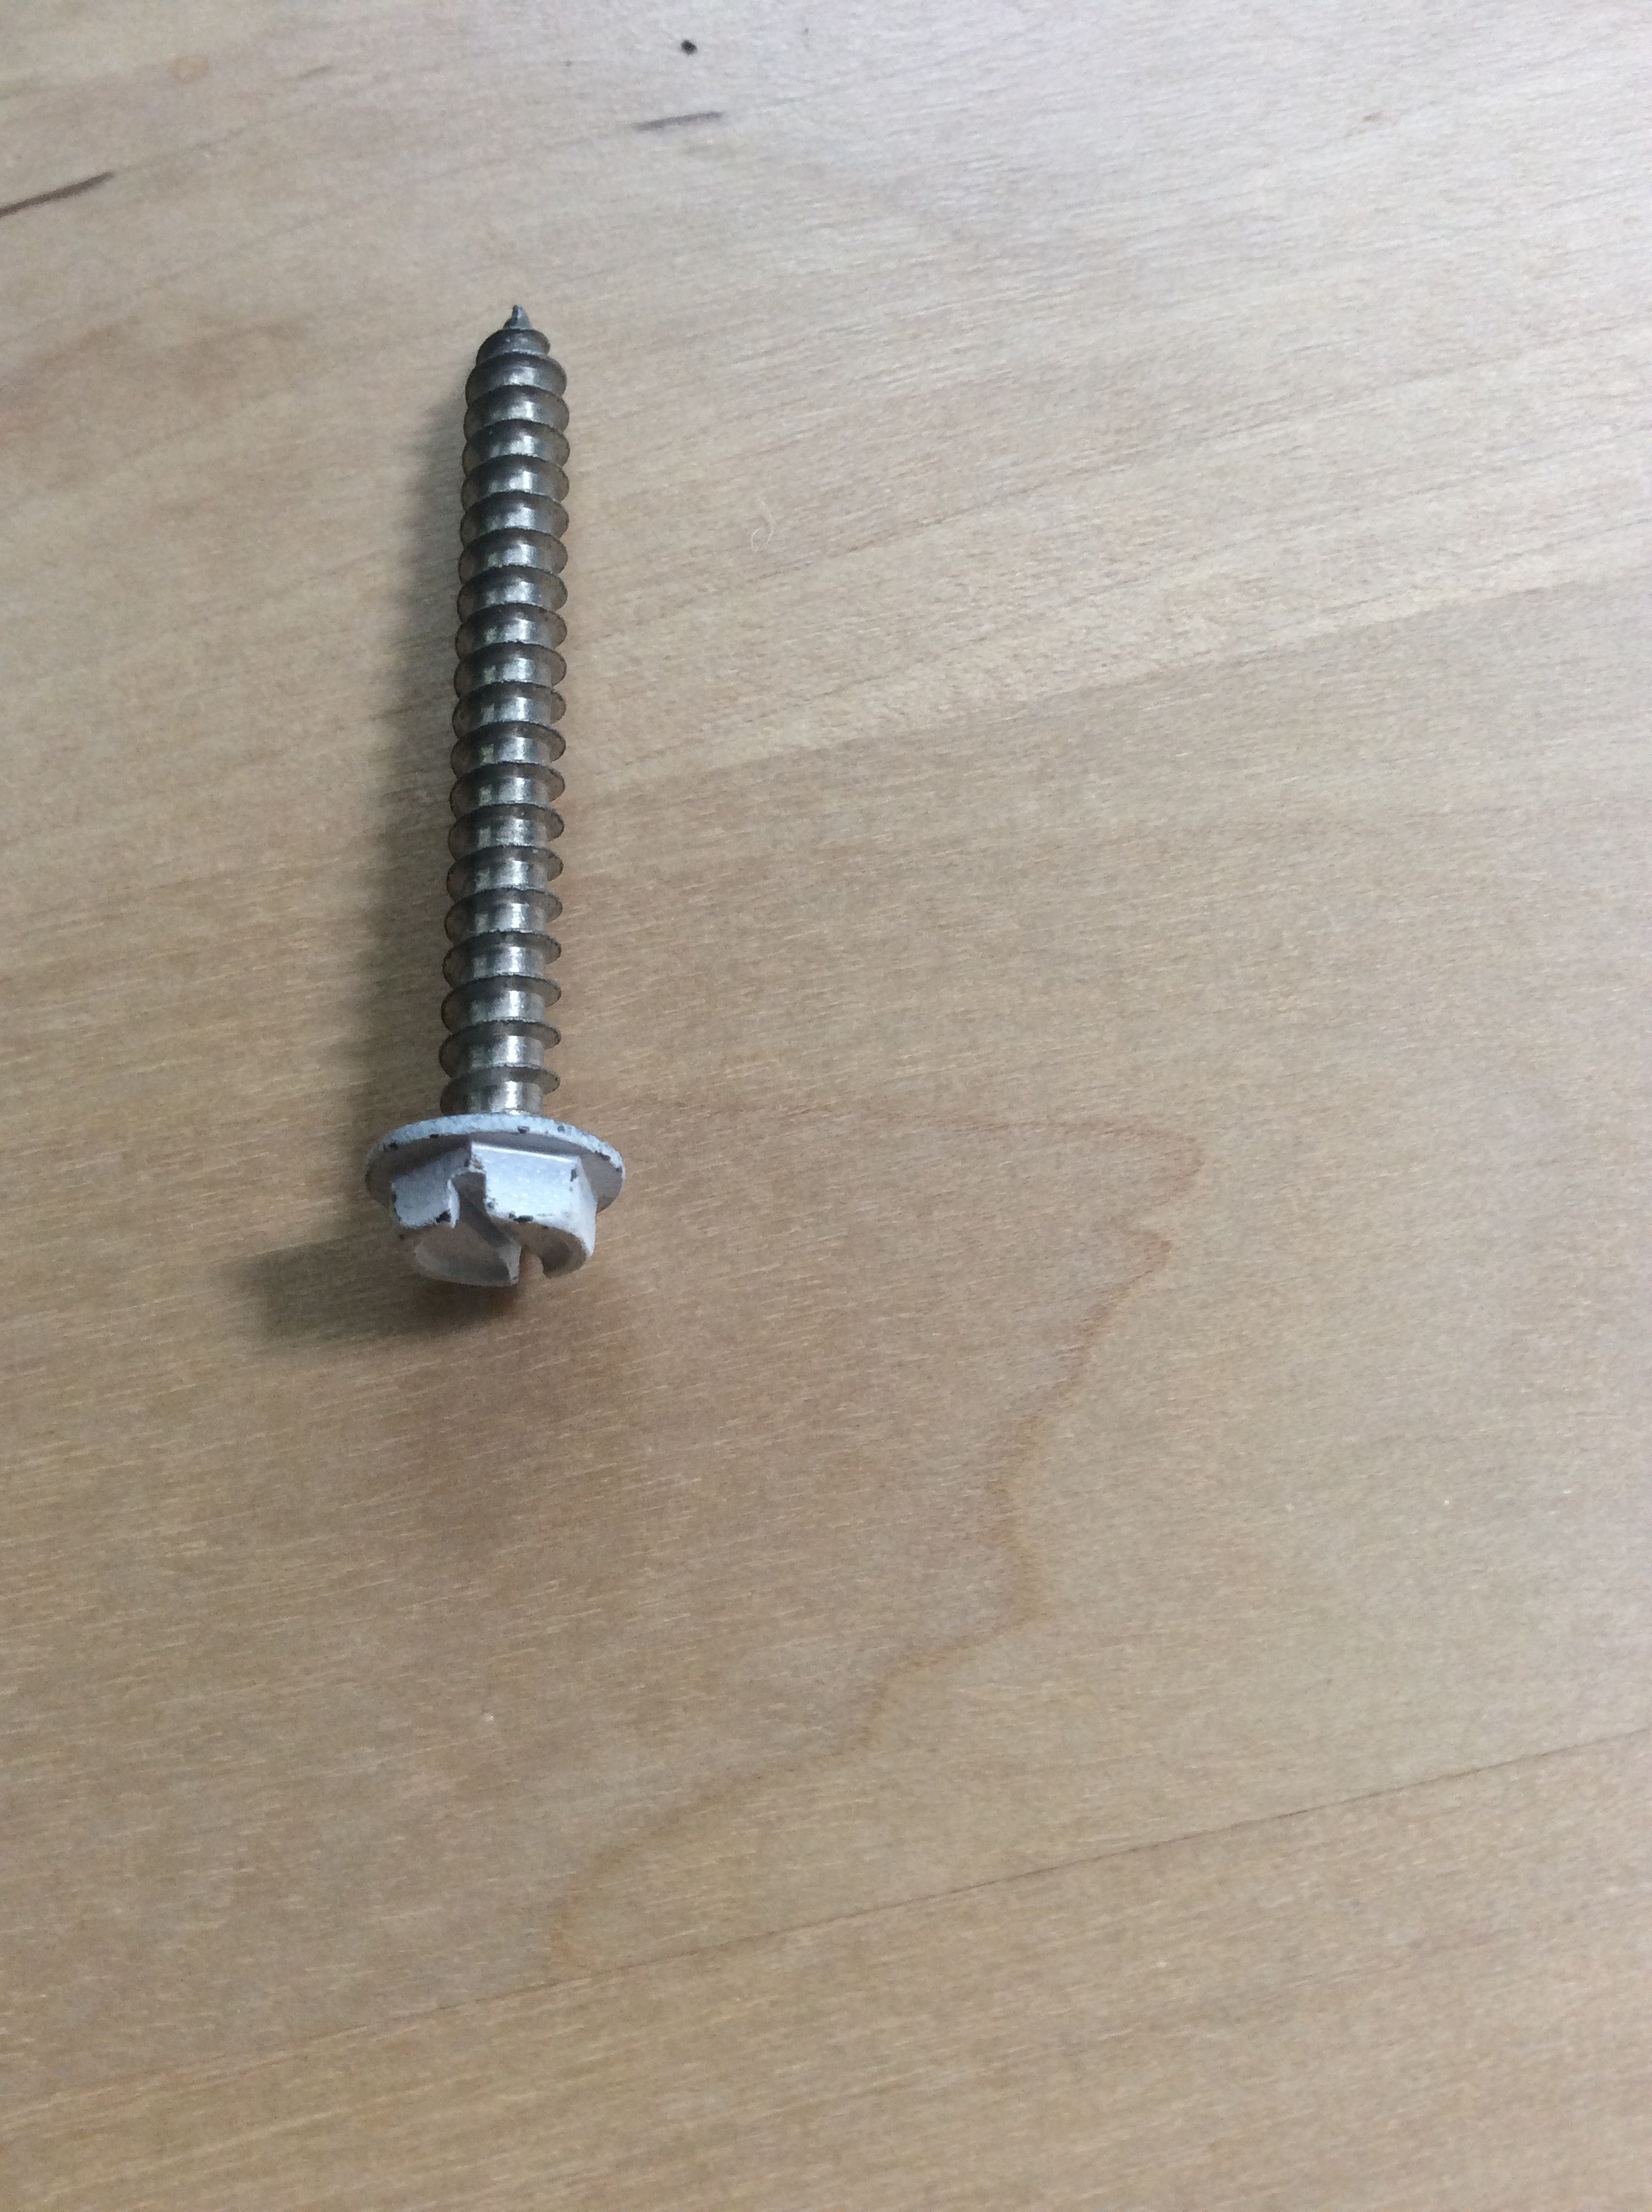
I visited a few Ace Hardwards for ideas (from the helpful hardware men, of course. I’m just being factual, they were men.). The best we could dome up with was these white hex-head screws.
Again, figuring out how to actually drive these screws into the wall, no easy task. I knew I had an angled screwdriver (the bottom tool below), but I wasn’t sure it would work. I brought over a socket set, but it was too bulky to fit behind the diamond-shaped-thing.
But! Indestro to the rescue! I found this tool lurking in our toolbox (thank you dearly, Russ). And it was PERFECT to affix the lamp to the wall.

So. There you go. The rest of the story.
While reminds me, sigh, I still have to go install the second one … level and balanced with the first.

Can’t agree more with the matter of time hidden behind a finished product. However, thank God we still have narratives and illustrations to capture those hours, days, and weeks! :^)
LikeLike
Yes! An thankfully the satisfaction of a job completed.
LikeLike